
I went to see Carolyn on Wednesday and she is so excited about her new scrapbook space! We both had notes ready to go when I arrived and got right to work. We discussed several things, such as; how she scrapbooks, what her needs are, how she currently stores her items, and much more. We measured her new room and it is roughly 24 feet long x14 feet wide on one side, and on the other side the wall is about 30 feet long.


Carolyn was a very good sport to let me take photos of her room upstairs as is--before any of the furniture was moved out--and the fact that her closet rod had broken and all the clothes got piled onto the bed! So thank you, Carolyn, for letting me do that! You are such a dear, sweet lady. Carolyn is lucky enough to have family who have promised to paint her room for her over the next couple of weeks. She is wanting an apple green color on all the walls with white on all the ceiling. We spent today trying to find her "perfect" apple green, so I guess we will wait and see what it really turns out to be! LOL That's for you, Carolyn hehe.

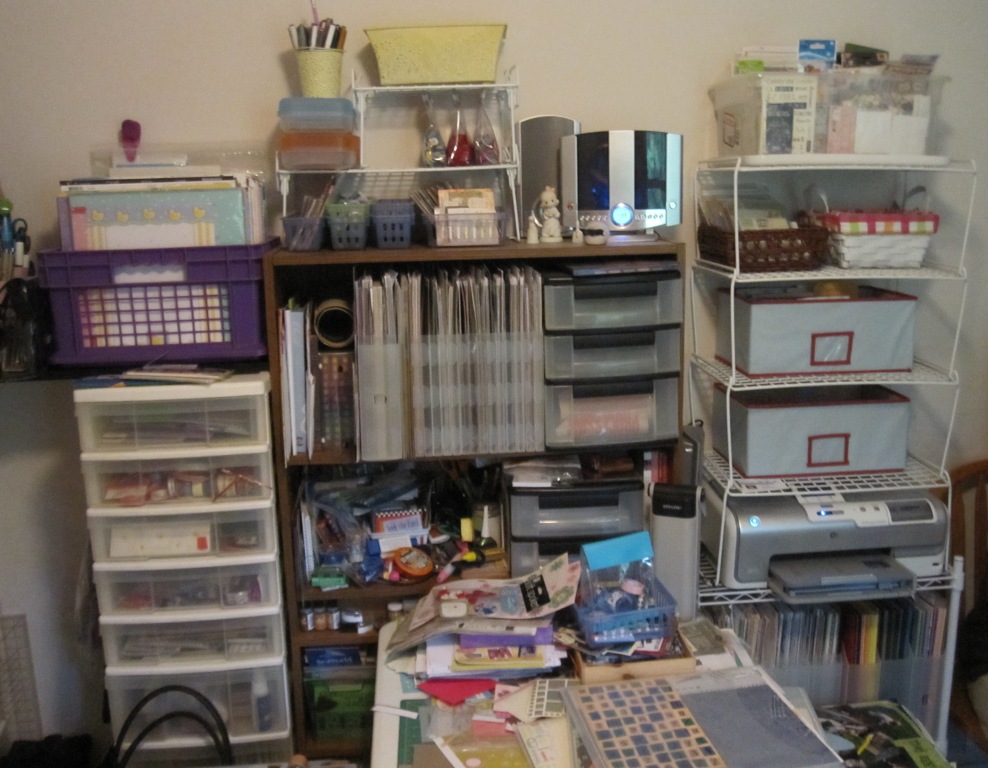
Carolyn has several 3-drawer Sterite containers, and in these drawers she stores some of her supplies by theme, and some by designer series. We are still contemplating where to put these and welcome any suggestions you have, since they also work very well for her scrapbooking needs. In her current space, all she has to do is turn around to get her supplies, so with this much larger space upstairs, it will be an adjustment for her to have to move across the room to get her supplies. She also has a small folding table she currently works on and has two more tables like it, which we were thinking we could use to create a crop area in the center of the room.
 To my surprise, she purchased a black kitchen island at Big Lots to use as her main work area for $229. It has a butcher block top with a inlaid piece of granite off to one side. On one of the long sides there is a section that can be flipped up to add more work space when needed. We are thinking of placing the island in front of the window, out towards the middle of the room.
She has a computer desk that she would like to put up there, but we are not sure whether it can be disassembled and reassembled, or where it would fit. Another interesting piece she has is a metal gray office cabinet that she keeps in her closet. It has 30 drawers in it and this is where she keeps all her memorabilia that inspires her layouts. Each drawer has a tag slot to let her know what is in each drawer. (Not shown in photos).
Debbie's Space


I have to admit is is a bit overwhelming to help someone else figure out their scrapbook room and to make sure there is adequate storage for all her supplies! We have a big challenge before us, but we are both very excited about the process and the end result! We are both looking forward to your suggestions and ideas. You can post a comment below or email any ideas, photos or drawings you have to shargod@gmail.com!
Until the next time,
Happy Scrappin!

No comments:
Post a Comment